Unpacking
Tear off the shrink wrap. Remove the uprights from the pallet using your impact wrench or ratchet and a 9/16" or 14mm socket. The uprights stand up well enough on their own as long as no one bumps into them.
NOTE: One of the bar holders doesn't have a pin in it because it can cause paint damage to the platform during shipping. Be sure not to let the bar holder drop as you are removing the plastic wrap that keeps it in place. The pin that holds it in place is inside the bolt bag.
Remove the brackets holding the platform to the pallet. Don't remove the platform from the pallet until you read the next step about the wooden blocks.
Assembly
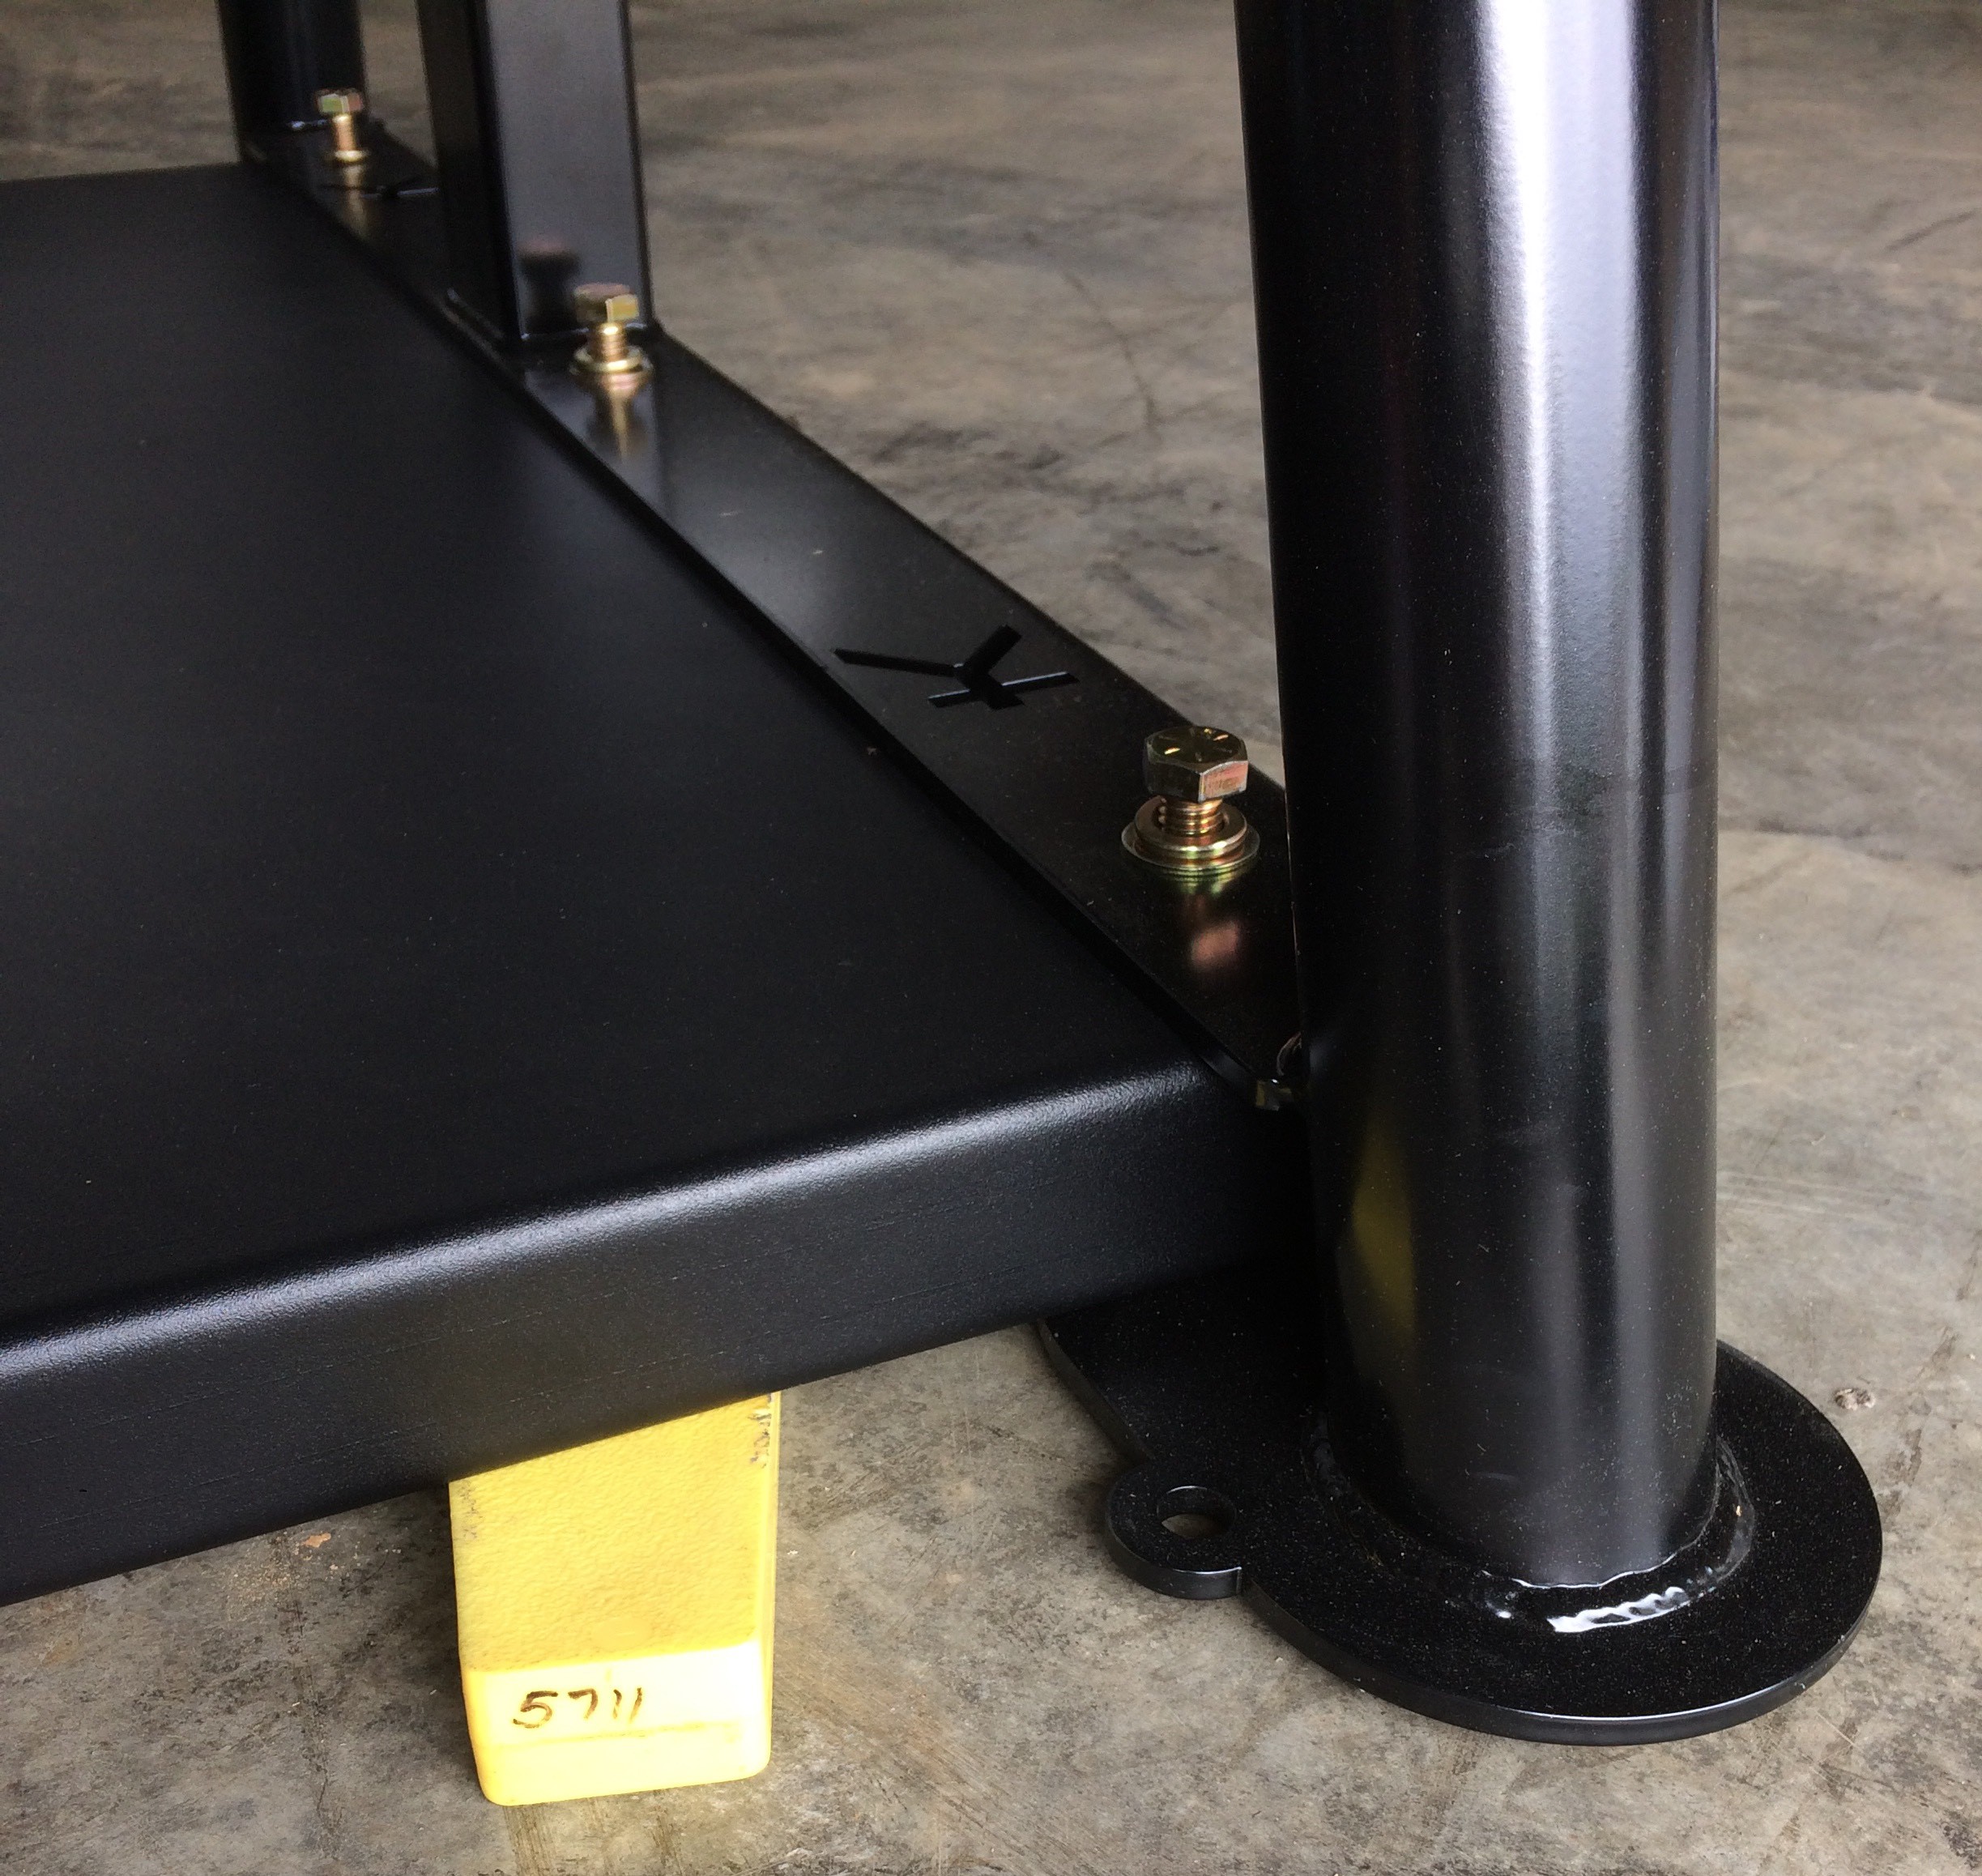
You'll find a couple of small wooden blocks included in the bag of bolts. Resting one side of the platform at a time on those blocks makes it much easier to assemble/disassemble. If the platform alone (minus both uprights) ever ends up flat on the ground, it takes a lot of effort to get your fingers back under it to lift it up.
- Prop one side of the platform on the wooden blocks. Make sure they're about six inches from the edge, so the upright can slide onto the platform. See the first picture below.
- Start all seven bolts by hand before fully tightening any of them. You might have to wiggle the upright a little to get everything aligned.
- Next, snug all seven bolts with your ratchet just until the lock washer starts to have pressure (see the second picture below), then go back and fully tighten all seven bolts.
- Now slide the wooden blocks to the opposite side and repeat for the second upright. You can use the first upright as a lever to lift the other side up.